RISOGRAPH PRINTING SET UP
Ready to start Risograph printing? Here’s some information and how to set up your files for printing:

WHAT IS RISOGRAPH PRINTING?
The Risograph duplicator is a unique technology for producing printer matter on paper. Housed in a machine similar to a photocopier, it combines the vibrant colours of silkscreening with efficiency, affordability and low-energy usage. Developed in Japan in 1986 originally for offices, churches and schools, the Risograph is becoming a definitive creative tool for publishing, experimentation and collaboration.
Inside the Risograph
From the outside, the Risograph looks like a photocopier. But its insides work differently, similar to silkscreen printing. A file is sent through a computer or an image is scanned to the machine. The stencil of the image is exposed as tiny holes onto a master sheet, which is wrapped around a cylinder filled with coloured soy-based ink. The ink is pushed through the stencil onto the paper as it passes through the machine, creating a unique print.

FILE SETUP
General Setup
● Minimum 300-600 dpi
● Grayscale PDF
● For larger areas of colour please adjust opacity to 50% or below
● Provide a full colour-mock up
Colour Separations
● Each colour layer saved as a grayscale file
● Name each file with the colour and layer to print (e.g. A for first, B for second)
● If you are creating artwork with overlaid colours, indicate which layer you’d like printed first (A for first, B for second etc.)
CMYK: We can print cyan, magenta and yellow channels with colours such as medium blue and red or fluorescent pink
Halftones: Automatically created by the Risograph

Paper
● Maximum paper size: 11 x 17"
● Maximum printable area: 10.5 x 16.5"
● Paper type: toothy or textured (not glossy)
Text
● Avoid using Photoshop to lay out text.
● Vectorize your font to avoid any problem of pixelization.
● Size: Minimum 6 pt.
● All type and solid shapes must be set to RGB black (R:0 G:0 B:0).
Lines
● Size: Minimum thickness is 0.25 pt.
RISO = IDEAL EXPERIMENTS
The word “riso” means ideal in Japanese, but using the Risograph for purposes other than for what it was created means making experimenting is part of the process.
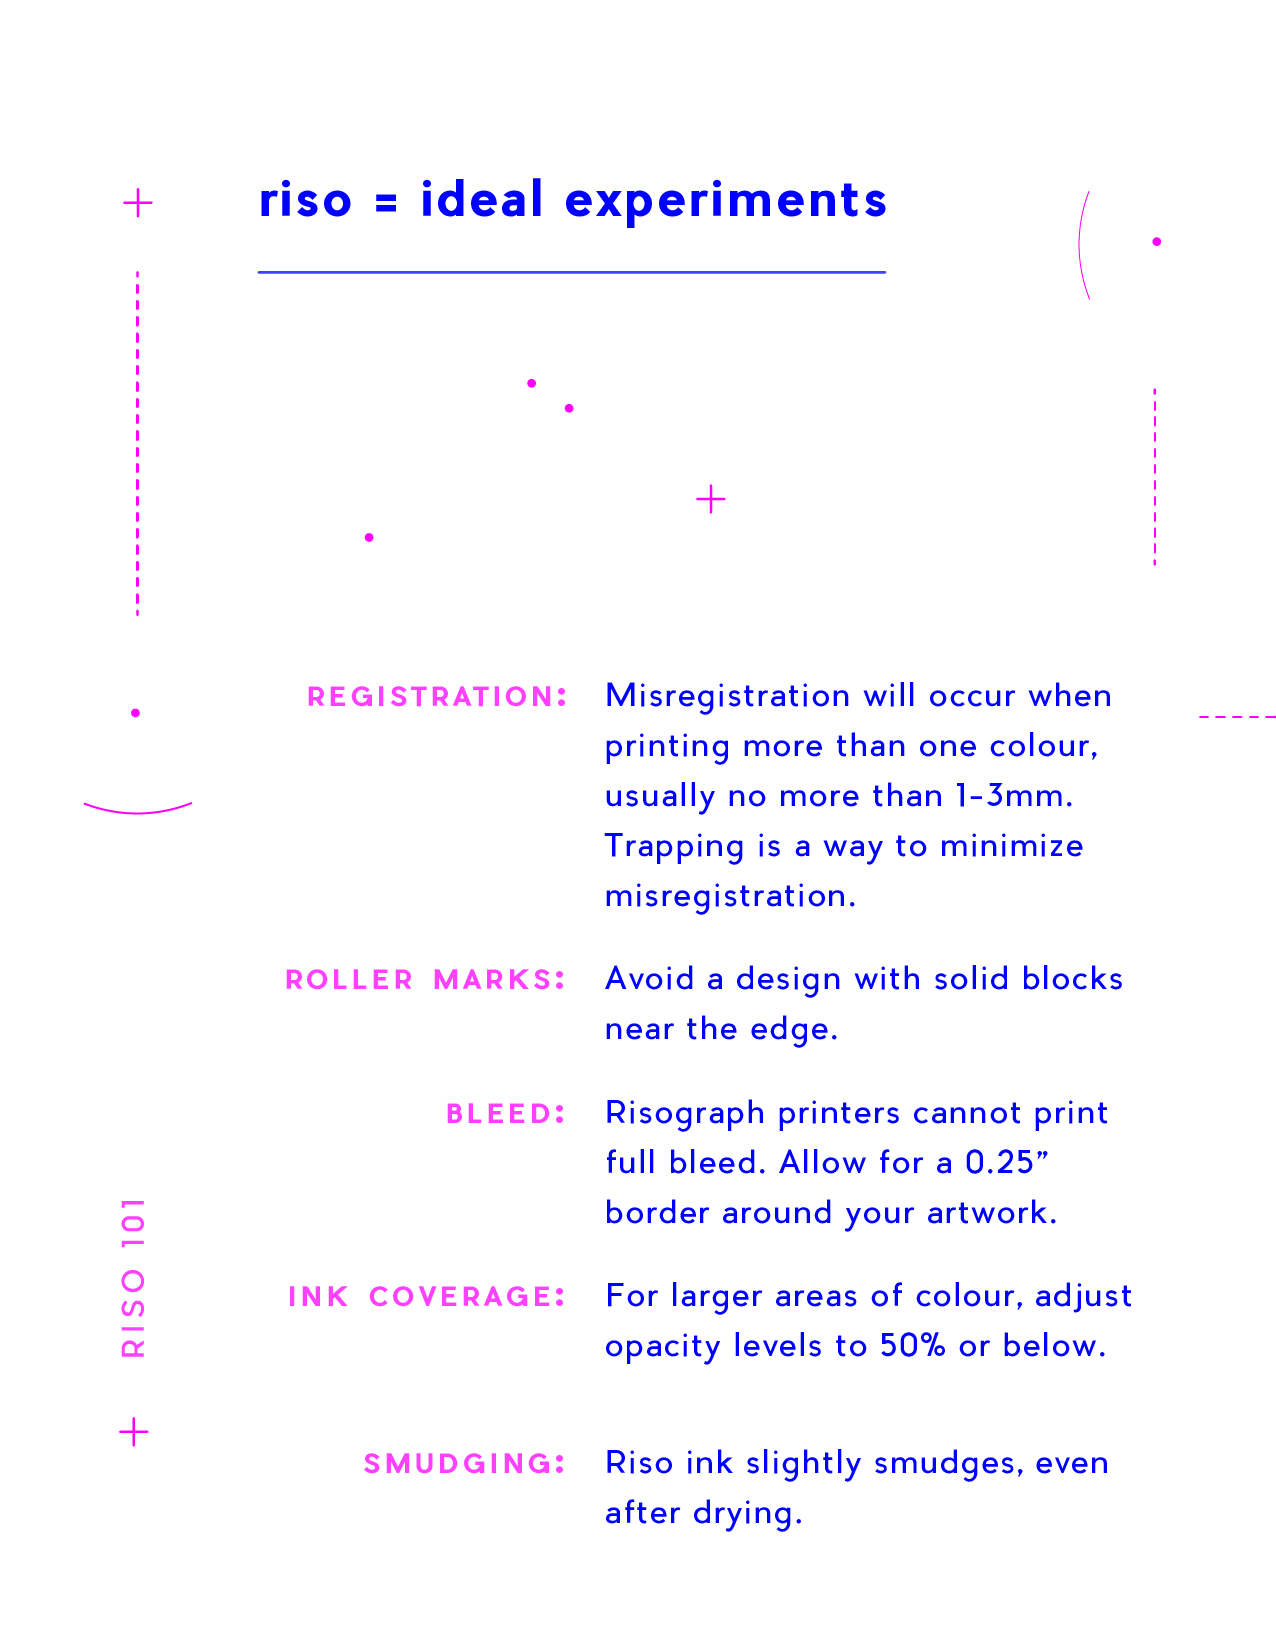
● Registration: Misregistration will occur when printing more than one colour, usually no more than 1-3mm. Line work printed over solid blocks of colour will usually look best. Trapping is a way to minimize misregistration.
● Roller marks: Avoid a design with solid blocks near the edge. May occur when there are high ink density areas near the shorter edge of the paper.
● Bleed: Risograph printers cannot print full bleed. Please allow for an 0.25” border around your artwork.
● Ink coverage: For larger areas of colour, adjust opacity levels to 50% or below. Large areas of solid colour tend to make the paper stick to the drum and can produce roller marks/mechanical issues with the machine.
● Smudging: Riso ink slightly smudges, even after drying, like newspaper printing ink.

COLOURS
Riso inks can be layered to create different shades and colours due to their slight transparency. Gradients/shading can be printed, depending on its opacity (e.g. 75%, 50%, 25%).
We currently stock the following colours:
Black
Bright Red
Blue
Medium Blue
Green
Teal
Flurorescent Pink
Yellow
Flat Gold
Sunflower
Cornflower
Graphic design by Sarah Manyoki
Summary
TO PREPARE FILES
Flattened PDF (no layers), with each colour layer saved as a separate file. Name each file with the colour you’d like it printed in. If you are creating artwork with overlaid colours, indicate which layer you’d like printed first (A for first, B for second etc)
Set to Greyscale / B&W
Resolution: 300dpi (and not any lower e.g. 72 dpi)
For books, multiples and double sided prints, include sequence numbers too.
Please supply lo-res digital proofs for all artwork as they act as a guide.
RISOGRAPH SPECIFIC TIPS
We can print double-sided. However, we highly recommend sticking to light coverage on one side. Internal rollers can leave marks. Printing doublesided will increase turnaround times (an extra 48 hours for each additional colour.).
Riso printers cannot print full bleed. Please allow for an 0.50” border around your artwork.
Misregistration WILL happen, usually this is no more then 1-3mm. Keep this in mind when designing your work. Line work printed over solid blocks of colour will usually look best. Trapping is a way to minimize misregistration.
Gradients/shading may also be printed, depending on its opacity (e.g. 75%, 50%, 25%).
For larger areas of colour please adjust opacity levels to 50% or below. Large areas of solid colour tend to make the paper stick to the drum and can produce roller marks/mechanical issues with the machine.
Roller marks may also occur when there are high ink density areas near the shorter edge of the paper. Avoid a design with solid blocks near the edge.
RESOURCES
Possible Worlds Co-Director Melanie Yugo has researched and written seminal resources on the resurgence of the Risograph machine for various publications, curated shows featuring Risograph work through the series Prints & Inks, and has interviewed and visited the studios of dozens of leading Risograph printers around the world.
Here’s some resources to consult:
COMING SOON